Practical Tips for Astrophotography Newcomers
Astrophotography on a Budget: Capturing Stunning Night Sky Images
For those with a passion for the stars and a desire to capture their beauty, astrophotography offers an exciting opportunity. This guide will help you get started with budget-friendly locations and gear to create impressive images of the night sky.
Locations
The best locations for astrophotography are dark sky sites with minimal light pollution. Some recommended spots in the United States include Great Basin National Park, Nevada, Cherry Springs State Park, Pennsylvania, and Big Bend Ranch, Texas [1]. Internationally, Aoraki Mackenzie in New Zealand is a certified Dark Sky Reserve, perfect for astrophotography [5].
Camera and Lens
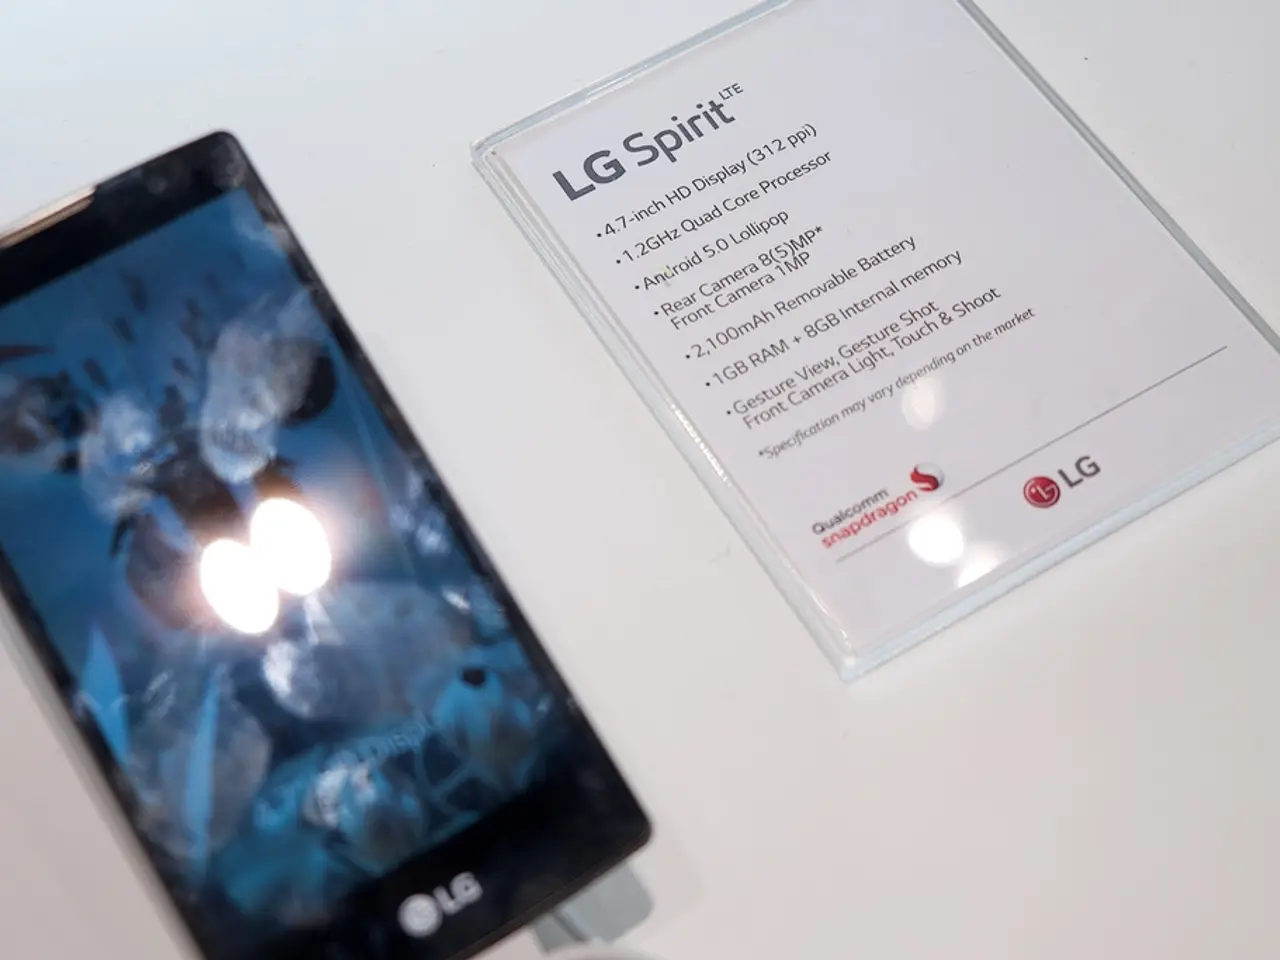
You don't need expensive camera equipment to start astrophotography. A DSLR or mirrorless camera with manual mode is ideal, but newer smartphones with night mode can also work [2]. A wide-angle lens with a fast aperture (f/2.8 or wider) is ideal to capture more of the sky and gather sufficient light [2].
Tripod and Accessories
A sturdy tripod is essential to stabilize your camera during long exposures. Adjustable legs and a ball head are useful features [2]. Essential accessories also include extra batteries, especially for cold nights, and a red light headlamp to preserve night vision [2]. Optional upgrades include affordable star trackers like the Sky-Watcher Star Adventurer Mini [4].
Tips for Successful Astrophotography
- Visit your location during the day to scout the best spots and plan your setup before nightfall.
- Use the 500 Rule to avoid star trails caused by Earth's rotation. Divide 500 by your lens's focal length to determine the maximum safe shutter speed.
- Exposures between 10 and 25 seconds usually work well in astrophotography to avoid star trails.
- Focus manually on a bright star or a distant light.
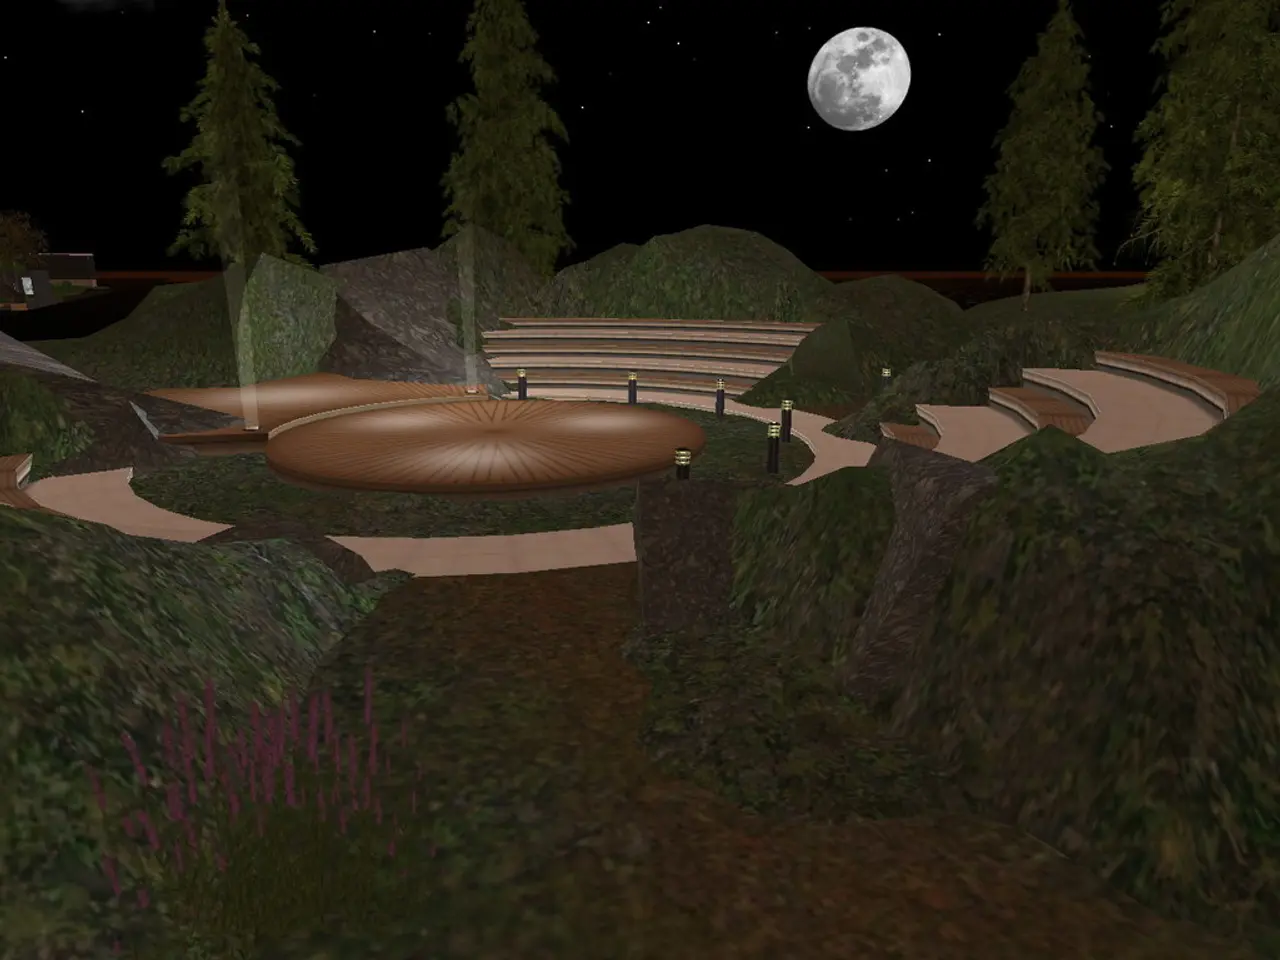
- The moon phase affects the brightness of the night sky. Shooting around the new moon or when the moon is below the horizon provides star-filled skies.
- Good locations for astrophotography can be found using free online light pollution maps.
- Using a tripod is essential for beginners to ensure stability during long exposures.
- Stacking multiple images with software like Sequator or DeepSkyStacker reduces noise and improves detail in astrophotography.
- Use a remote shutter release or your camera's built-in timer to avoid blurring the image caused by pressing the shutter button.
Starting Your Astrophotography Journey
Start with these settings: set your aperture as wide as possible (f/2.8 or lower), use an ISO between 1600 and 3200, and choose a shutter speed between 10 and 25 seconds. Keep in mind that astrophotography is a learning process, and many great images come after many attempts and adjustments.
In summary, starting with these locations and gear allows you to capture impressive astrophotography images on a budget while gradually upgrading as you gain experience. Happy stargazing!
[1] Great Places to Photograph the Night Sky [2] Astrophotography for Beginners: Gear Guide [4] Sky-Watcher Star Adventurer Mini Review [5] Top 10 Dark Sky Reserves for Stargazing
Technology plays a crucial role in astrophotography, with a DSLR or mirrorless camera with manual mode being ideal, or even newer smartphones with night mode capable of creating impressive images of the night sky [2]. Additionally, using a sturdy tripod to stabilize your camera during long exposures and essential accessories like a red light headlamp to preserve night vision are essential for successful astrophotography [2].

